CentsOS 7 “Could not resolve host: mirrorlist.centos.org; 未知的错误”问题解决
目录
- 一、问题背景
- 二、安装wget
- 2.1 下载wget
- 2.2 上传wget安装包到linux
- 2.3 安装wget
- 三、安装yum
- 3.1 卸载python
- 3.2 删除yum
- 3.3 下载安装包
- 3.5 测试yum
- 四、处理源yum
- 4.1 删除yum源
- 4.2 下载阿里云yum源
- 4.3 清除和生成yum缓存
一、问题背景
在VMware安装完CentOS 7镜像后,发现yum无法使用,报错信息如下:
[root@linux ~]# yum install -y yum-utils
已加载插件:fastestmirror
Determining fastest mirrors
Could not retrieve mirrorlist http://mirrorlist.centos.org/?release=7&arch=x86_64&repo=os&infra=stock error was
14: curl#6 - "Could not resolve host: mirrorlist.centos.org; 未知的错误"One of the configured repositories failed (未知),and yum doesn't have enough cached data to continue. At this point the onlysafe thing yum can do is fail. There are a few ways to work "fix" this:1. Contact the upstream for the repository and get them to fix the problem.2. Reconfigure the baseurl/etc. for the repository, to point to a workingupstream. This is most often useful if you are using a newerdistribution release than is supported by the repository (and thepackages for the previous distribution release still work).3. Run the command with the repository temporarily disabledyum --disablerepo=<repoid> ...4. Disable the repository permanently, so yum won't use it by default. Yumwill then just ignore the repository until you permanently enable itagain or use --enablerepo for temporary usage:yum-config-manager --disable <repoid>orsubscription-manager repos --disable=<repoid>5. Configure the failing repository to be skipped, if it is unavailable.Note that yum will try to contact the repo. when it runs most commands,so will have to try and fail each time (and thus. yum will be be muchslower). If it is a very temporary problem though, this is often a nicecompromise:yum-config-manager --save --setopt=<repoid>.skip_if_unavailable=trueCannot find a valid baseurl for repo: base/7/x86_64
从报错上来看是解析不了mirrorlist.centos.org这个网址
ping了一下百度,发现是可以ping通的,说明网络没有问题
[root@linux yum.repos.d]# ping www.baidu.com
PING www.a.shifen.com (39.156.66.14) 56(84) bytes of data.
64 bytes from 39.156.66.14 (39.156.66.14): icmp_seq=1 ttl=128 time=6.37 ms
64 bytes from 39.156.66.14 (39.156.66.14): icmp_seq=2 ttl=128 time=5.66 ms
64 bytes from 39.156.66.14 (39.156.66.14): icmp_seq=3 ttl=128 time=9.42 ms
64 bytes from 39.156.66.14 (39.156.66.14): icmp_seq=4 ttl=128 time=6.34 ms
在网上查了有好几篇类似的文章说是dns或者修改/etc/resolv.conf文件都没有用
最后参考了https://blog.csdn.net/weixin_53588804/article/details/140648651解决问题,但是该文章有几步冗余的操作,于是对其进行整理,重新梳理了一下操作,通过本文记录
二、安装wget
由于新系统中没有wget,先安装wget(如果系统中已经有wget可直接调到第三步)
2.1 下载wget
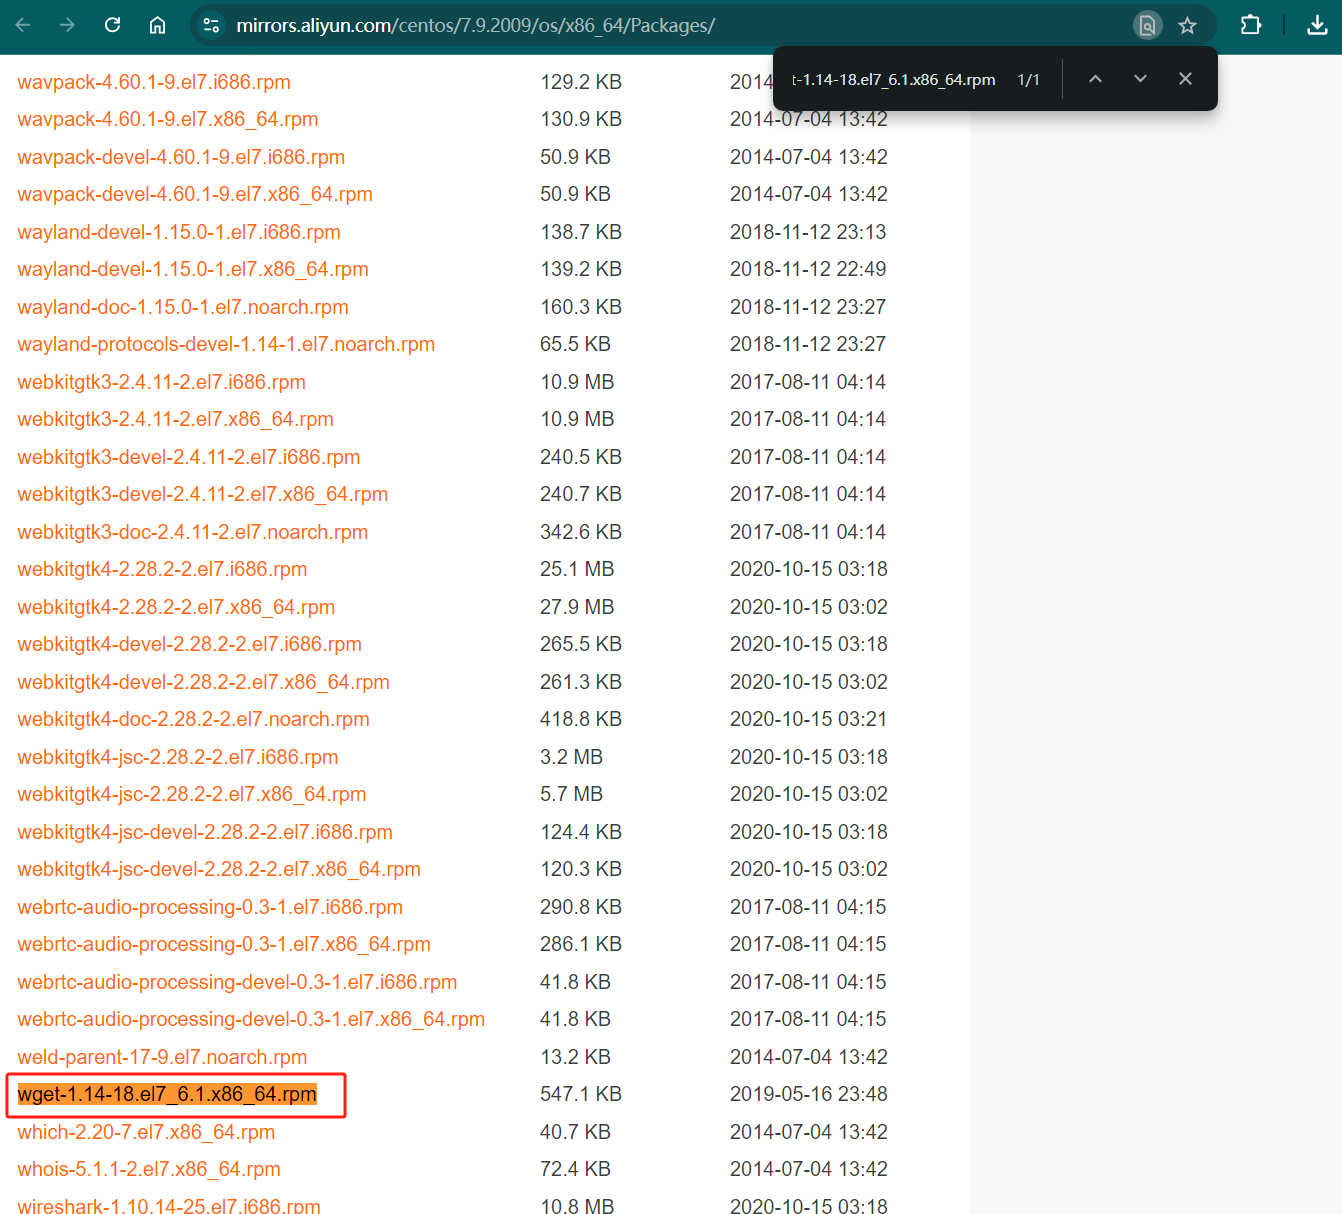
阿里云镜像库 https://mirrors.aliyun.com/centos/7.9.2009/os/x86_64/Packages
在该界面下载 wget-1.14-18.el7_6.1.x86_64.rpm
2.2 上传wget安装包到linux
创建对应文件夹
mkdir /home/wget
进入文件夹
cd /home/wget
将刚才下载的文件上传到该位置
2.3 安装wget
使用rpm安装wget
rpm -ivh wget-1.14-18.el7_6.1.x86_64.rpm
至此wget安装完毕
三、安装yum
3.1 卸载python
##强制删除已安装程序及其关联
rpm -qa|grep python|xargs rpm -ev --allmatches --nodeps##删除所有残余文件 ##xargs,允许你对输出执行其他某些命令
whereis python |xargs rm -frv -rf##验证删除,返回无结果
whereis python
3.2 删除yum
rpm -qa|grep yum|xargs rpm -ev --allmatches --nodeps
whereis yum |xargs rm -frv -rf
3.3 下载安装包
创建安装包下载文件夹
mkdir /home/wget/rpm
进入文件夹
cd /home/wget/rpm
下载安装包
wget https://mirrors.aliyun.com/centos/7.9.2009/os/x86_64/Packages/lvm2-python-libs-2.02.187-6.el7.x86_64.rpm
wget https://mirrors.aliyun.com/centos/7.9.2009/os/x86_64/Packages/libxml2-python-2.9.1-6.el7.5.x86_64.rpm
wget https://mirrors.aliyun.com/centos/7.9.2009/os/x86_64/Packages//python-libs-2.7.5-89.el7.x86_64.rpm
wget https://mirrors.aliyun.com/centos/7.9.2009/os/x86_64/Packages/python-ipaddress-1.0.16-2.el7.noarch.rpm
wget https://mirrors.aliyun.com/centos/7.9.2009/os/x86_64/Packages/python-backports-1.0-8.el7.x86_64.rpm
wget https://mirrors.aliyun.com/centos/7.9.2009/os/x86_64/Packages/python-backports-ssl_match_hostname-3.5.0.1-1.el7.noarch.rpm
wget https://mirrors.aliyun.com/centos/7.9.2009/os/x86_64/Packages/python-2.7.5-89.el7.x86_64.rpm
wget https://mirrors.aliyun.com/centos/7.9.2009/os/x86_64/Packages/python-iniparse-0.4-9.el7.noarch.rpm
wget https://mirrors.aliyun.com/centos/7.9.2009/os/x86_64/Packages/python-pycurl-7.19.0-19.el7.x86_64.rpm
wget https://mirrors.aliyun.com/centos/7.9.2009/os/x86_64/Packages/python-urlgrabber-3.10-10.el7.noarch.rpm
wget https://mirrors.aliyun.com/centos/7.9.2009/os/x86_64/Packages/python-setuptools-0.9.8-7.el7.noarch.rpm
wget https://mirrors.aliyun.com/centos/7.9.2009/os/x86_64/Packages/python-kitchen-1.1.1-5.el7.noarch.rpm
wget https://mirrors.aliyun.com/centos/7.9.2009/os/x86_64/Packages/python-chardet-2.2.1-3.el7.noarch.rpm
wget https://mirrors.aliyun.com/centos/7.9.2009/os/x86_64/Packages/rpm-python-4.11.3-45.el7.x86_64.rpm
wget https://mirrors.aliyun.com/centos/7.9.2009/os/x86_64/Packages/yum-utils-1.1.31-54.el7_8.noarch.rpm
wget https://mirrors.aliyun.com/centos/7.9.2009/os/x86_64/Packages/yum-3.4.3-168.el7.centos.noarch.rpm
wget https://mirrors.aliyun.com/centos/7.9.2009/os/x86_64/Packages/yum-metadata-parser-1.1.4-10.el7.x86_64.rpm
wget https://mirrors.aliyun.com/centos/7.9.2009/os/x86_64/Packages/yum-plugin-aliases-1.1.31-54.el7_8.noarch.rpm
wget https://mirrors.aliyun.com/centos/7.9.2009/os/x86_64/Packages/yum-plugin-protectbase-1.1.31-54.el7_8.noarch.rpm
wget https://mirrors.aliyun.com/centos/7.9.2009/os/x86_64/Packages/yum-plugin-fastestmirror-1.1.31-54.el7_8.noarch.rpm
3.4 安装替换依赖
rpm -ivh --nodeps --force *.rpm
3.5 测试yum
yum
显示以下信息即为成功:
[root@linux rpm]# yum
已加载插件:aliases, fastestmirror, protectbase
您需要给出命令
Usage: yum [options] COMMANDList of Commands:alias          Adds or lists aliases
check          检查 RPM 数据库问题
check-update   检查是否有可用的软件包更新
clean          删除缓存数据
deplist        列出软件包的依赖关系
下面省略...
四、处理源yum
4.1 删除yum源
rm -rf /etc/yum.repos.d/*
4.2 下载阿里云yum源
# 切换目录
cd /etc/yum.repos.d/
# 下载
wget http://mirrors.aliyun.com/repo/Centos-7.repo
4.3 清除和生成yum缓存
## 清除缓存
yum clean all## 生成缓存
yum makecache
至此问题洁具额,接着执行之前报错的命令即可
参考文章:https://blog.csdn.net/weixin_53588804/article/details/140648651