二、Android Studio集成ffmpeg so
目录
1、前言
2、新建AS工程
2.1 选择Native C++
2.2 按图编辑和编辑
2.3 选择C++标准
2.4 最初工程目录展示
3、拷贝so库到AS
4、编辑CMakeLists.txt
5、修改build.gradle
6、编辑Native-lib.cpp
7、修改MainActivity.java
8、效果展示
1、前言
本文章之前也是参考了很多教程,五花八门,别人的成功了,自己试却还是遇到很多坑。可能跟自己用的android studio版本有关系?我用的是目前最新的(如下图,打字不如上图)。所以还是自己亲手操作并记录下来(保姆级教程)。

2、新建AS工程
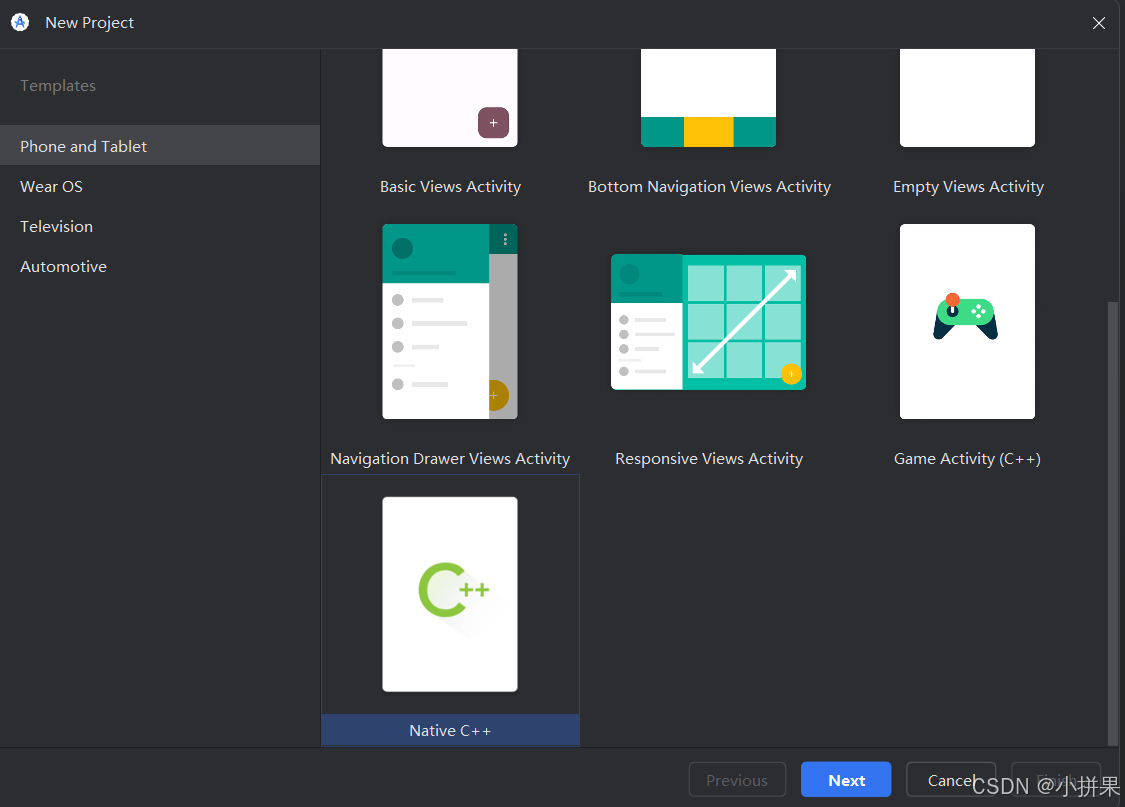
有两种建工程方式可以集成so,一种是自己配置,一种是AS“自带的”----Native C++。这里选择简单的Native C++,非该方式的后面有时间再来补充。
2.1 选择Native C++
选择Native C++,点击Next。
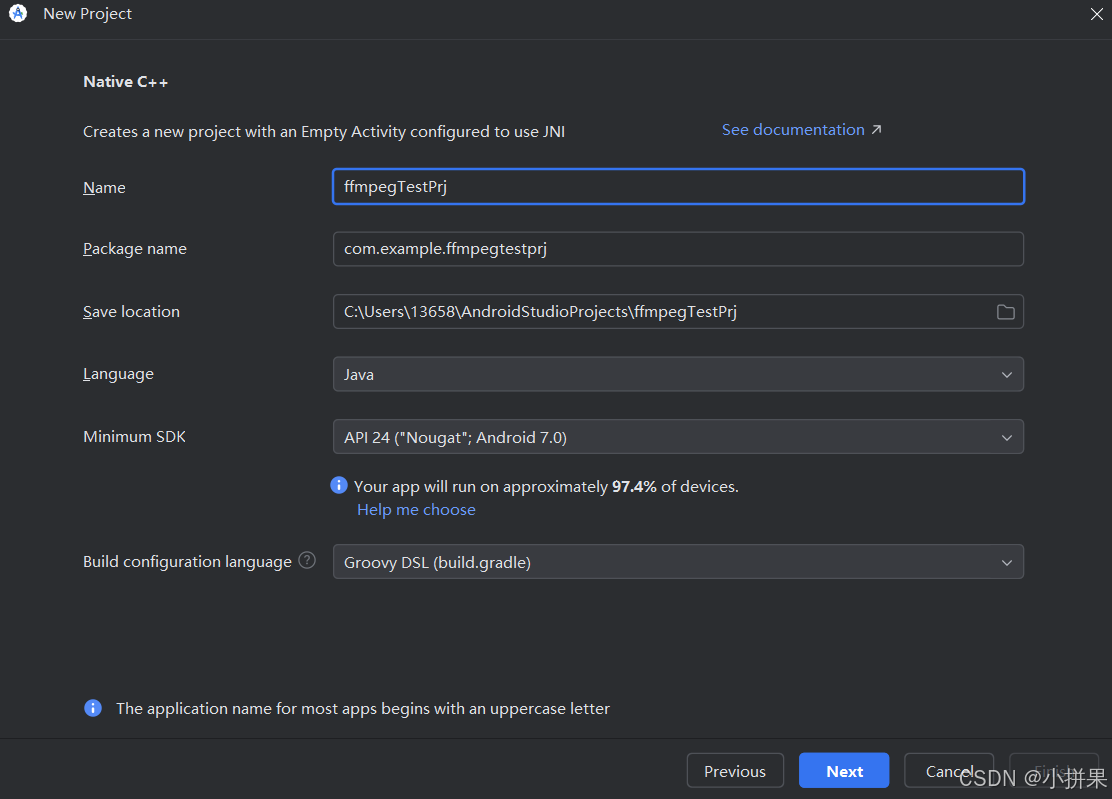
2.2 按图编辑和编辑
注意选择Java、build.gradle(其他方式不熟悉),选好后点击Next。
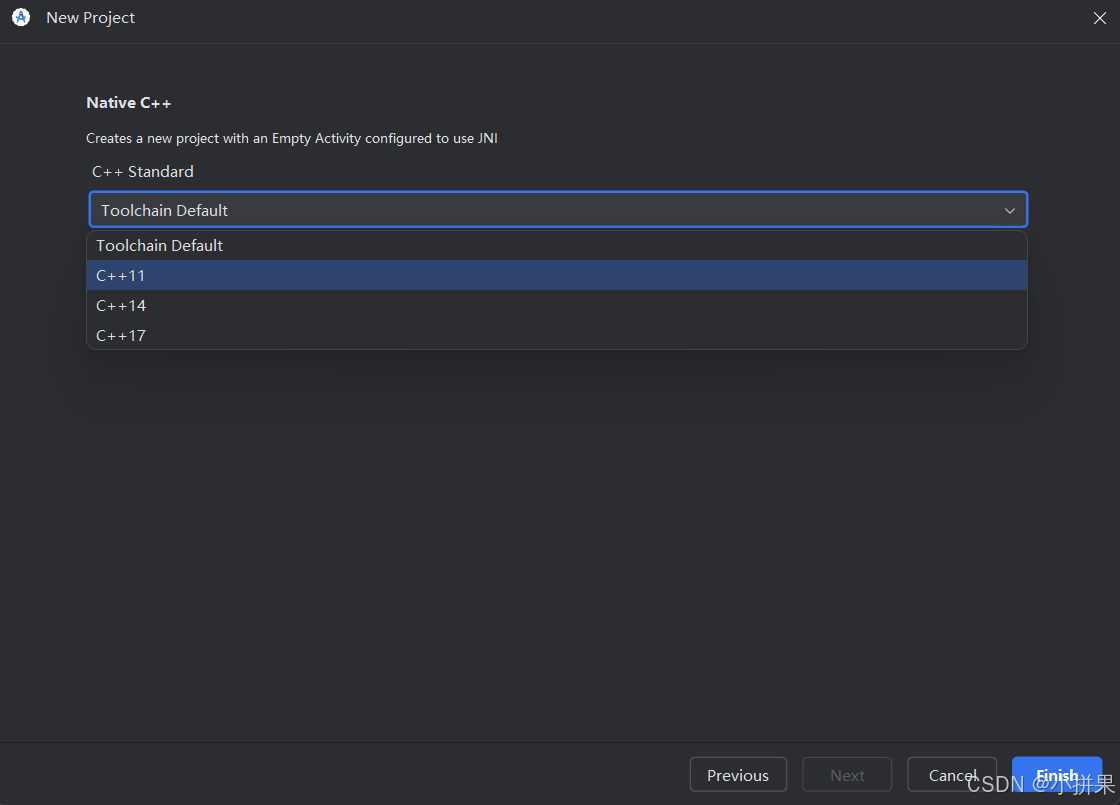
2.3 选择C++标准
我选择了Toolchain Default,然后点击finish。
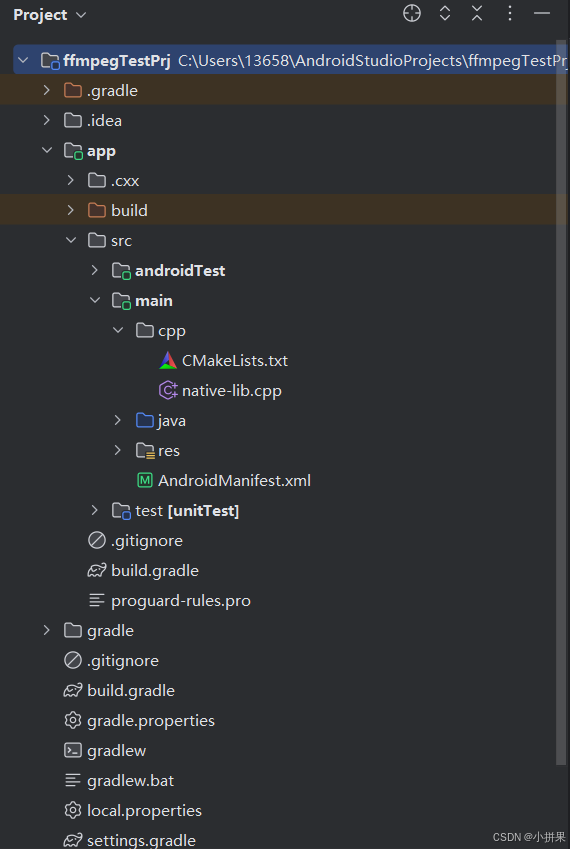
2.4 最初工程目录展示
可以看到,比一般工程多了一个cpp目录,里面还有一个.cpp文件和一个CMakeLists.txt,这两个就是我们接下来要编辑的,也就是它搭建了java调用c/c++的桥梁(具体原理和介绍可以百度JNI相关)。
这样,该类工程AS已经把集成C/C++ so库的框架打好了,我们只需要做一些简单的配置就可以集成我们交叉编译的库了。
3、拷贝so库到AS
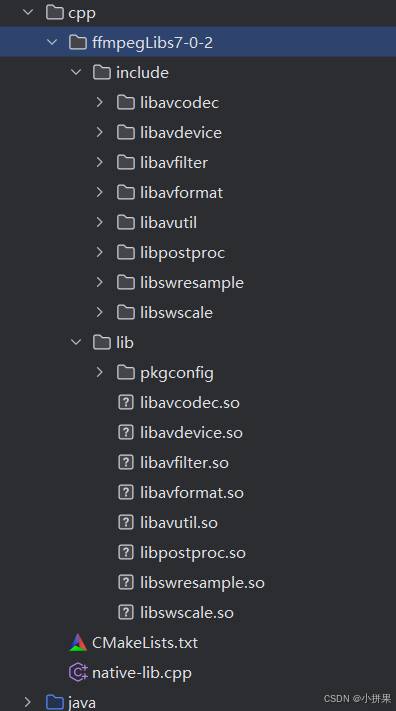
在cpp目录(感觉这个位置比较合适,别的位置也可以,能在CMakeLists.txt找到就行)下创建一个目录——ffmpegLibs7-0-2,以存放交叉编译好的so和头文件,目前手机大部分都是64位的,这里我只拷贝了arm64-v8a的。如图:
4、编辑CMakeLists.txt
这一步非常关键。工程生成的CMakeLists.txt只是将native-lib封装成了一个jni库,这个库是供java调用的,而我们交叉编译的库是这个jni库来调用的,这样就实现了java间接调用我们交叉编译的so的接口了。编辑CMakeLists.txt如下:
# For more information about using CMake with Android Studio, read the
# documentation: https://d.android.com/studio/projects/add-native-code.html.
# For more examples on how to use CMake, see https://github.com/android/ndk-samples.# Sets the minimum CMake version required for this project.
cmake_minimum_required(VERSION 3.22.1)# Declares the project name. The project name can be accessed via ${ PROJECT_NAME},
# Since this is the top level CMakeLists.txt, the project name is also accessible
# with ${CMAKE_PROJECT_NAME} (both CMake variables are in-sync within the top level
# build script scope).
project("ffmpegtestprj")# Creates and names a library, sets it as either STATIC
# or SHARED, and provides the relative paths to its source code.
# You can define multiple libraries, and CMake builds them for you.
# Gradle automatically packages shared libraries with your APK.
#
# In this top level CMakeLists.txt, ${CMAKE_PROJECT_NAME} is used to define
# the target library name; in the sub-module's CMakeLists.txt, ${PROJECT_NAME}
# is preferred for the same purpose.
#
#定义交叉编译库的基本目录,方便下面指定头文件目录和库的目录
set(PREFIX "${CMAKE_SOURCE_DIR}/ffmpegLibs7-0-2/")
#包含ffmpeg头文件目录
include_directories(${PREFIX}/include)
#添加交叉编译库的目录
link_directories(${PREFIX}/lib)#添加库,这一步不能漏,这个和我们平时开发C++代码时不太一样,一般我们是直接在目标库中链接就可以
#而这里需要重新添加一下。有些博客这里不添加,在build.gradle里面指定库的路径(该方式我自己试了不行,
#会报xxx.so is not an ABI,应该是我们自己交叉编译的so,AS是不认识的,接口不匹配;这个坑我踩了很久)。
#这里重新添加的原理我还没找到官方的说法,我理解这么做的原理还是因为java程序不能直接访问该库,只能告诉
#目标库,让目标库去加载。(这里我还做了一个尝试,就是把ffmpeg里面的jni选项打开,以为java程序就可以
#直接访问(build.gradle里指定jniLibs)了,但还是不行,还是报xxx.so is not an ABI)
add_library(avcodecSHAREDIMPORTED
)
set_target_properties(avcodecPROPERTIES IMPORTED_LOCATION${PREFIX}/lib/libavcodec.so
)add_library(avdeviceSHAREDIMPORTED
)
set_target_properties(avdevicePROPERTIES IMPORTED_LOCATION${PREFIX}/lib/libavdevice.so
)add_library(avfilterSHAREDIMPORTED
)
set_target_properties(avfilterPROPERTIES IMPORTED_LOCATION${PREFIX}/lib/libavfilter.so
)add_library(avformatSHAREDIMPORTED
)
set_target_properties(avformatPROPERTIES IMPORTED_LOCATION${PREFIX}/lib/libavformat.so
)add_library(avutilSHAREDIMPORTED
)
set_target_properties(avutilPROPERTIES IMPORTED_LOCATION${PREFIX}/lib/libavutil.so
)add_library(postprocSHAREDIMPORTED
)
set_target_properties(postprocPROPERTIES IMPORTED_LOCATION${PREFIX}/lib/libpostproc.so
)add_library(swresampleSHAREDIMPORTED
)
set_target_properties(swresamplePROPERTIES IMPORTED_LOCATION${PREFIX}/lib/libswresample.so
)add_library(swscaleSHAREDIMPORTED
)
set_target_properties(swscalePROPERTIES IMPORTED_LOCATION${PREFIX}/lib/libswscale.so
)# In order to load a library into your app from Java/Kotlin, you must call
# System.loadLibrary() and pass the name of the library defined here;
# for GameActivity/NativeActivity derived applications, the same library name must be
# used in the AndroidManifest.xml file.
add_library(${CMAKE_PROJECT_NAME} SHARED# List C/C++ source files with relative paths to this CMakeLists.txt.native-lib.cpp)# Specifies libraries CMake should link to your target library. You
# can link libraries from various origins, such as libraries defined in this
# build script, prebuilt third-party libraries, or Android system libraries.
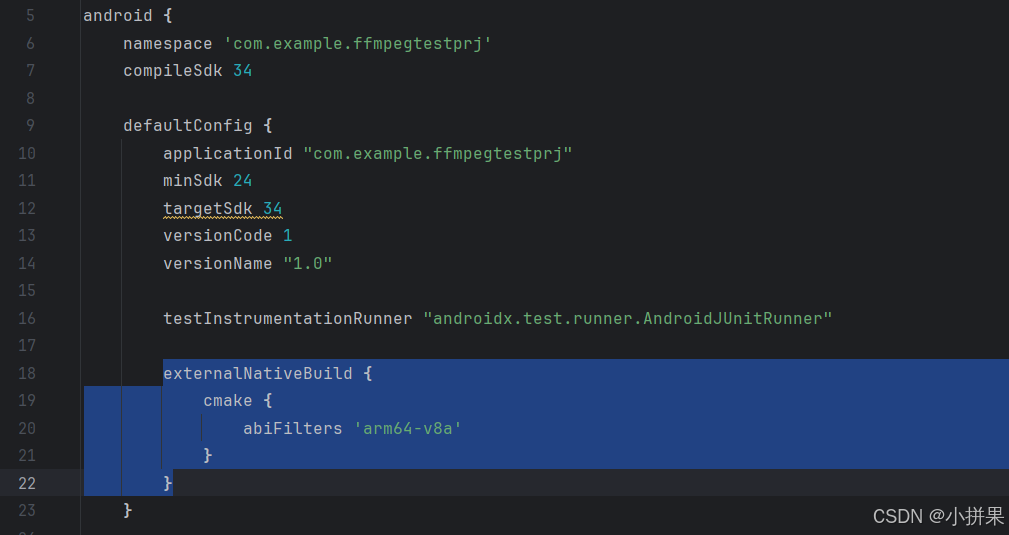
target_link_libraries(${CMAKE_PROJECT_NAME}# List libraries link to the target library#ffmpeg链接到native-libavcodecavdeviceavfilteravformatavutilpostprocswresampleswscaleandroidlog)5、修改build.gradle
修改app目录下的build.gradle,在defaultConfig中添加cmake并指定平台,因为我们只导入一个平台的库(我是用手机运行的)
6、编辑Native-lib.cpp
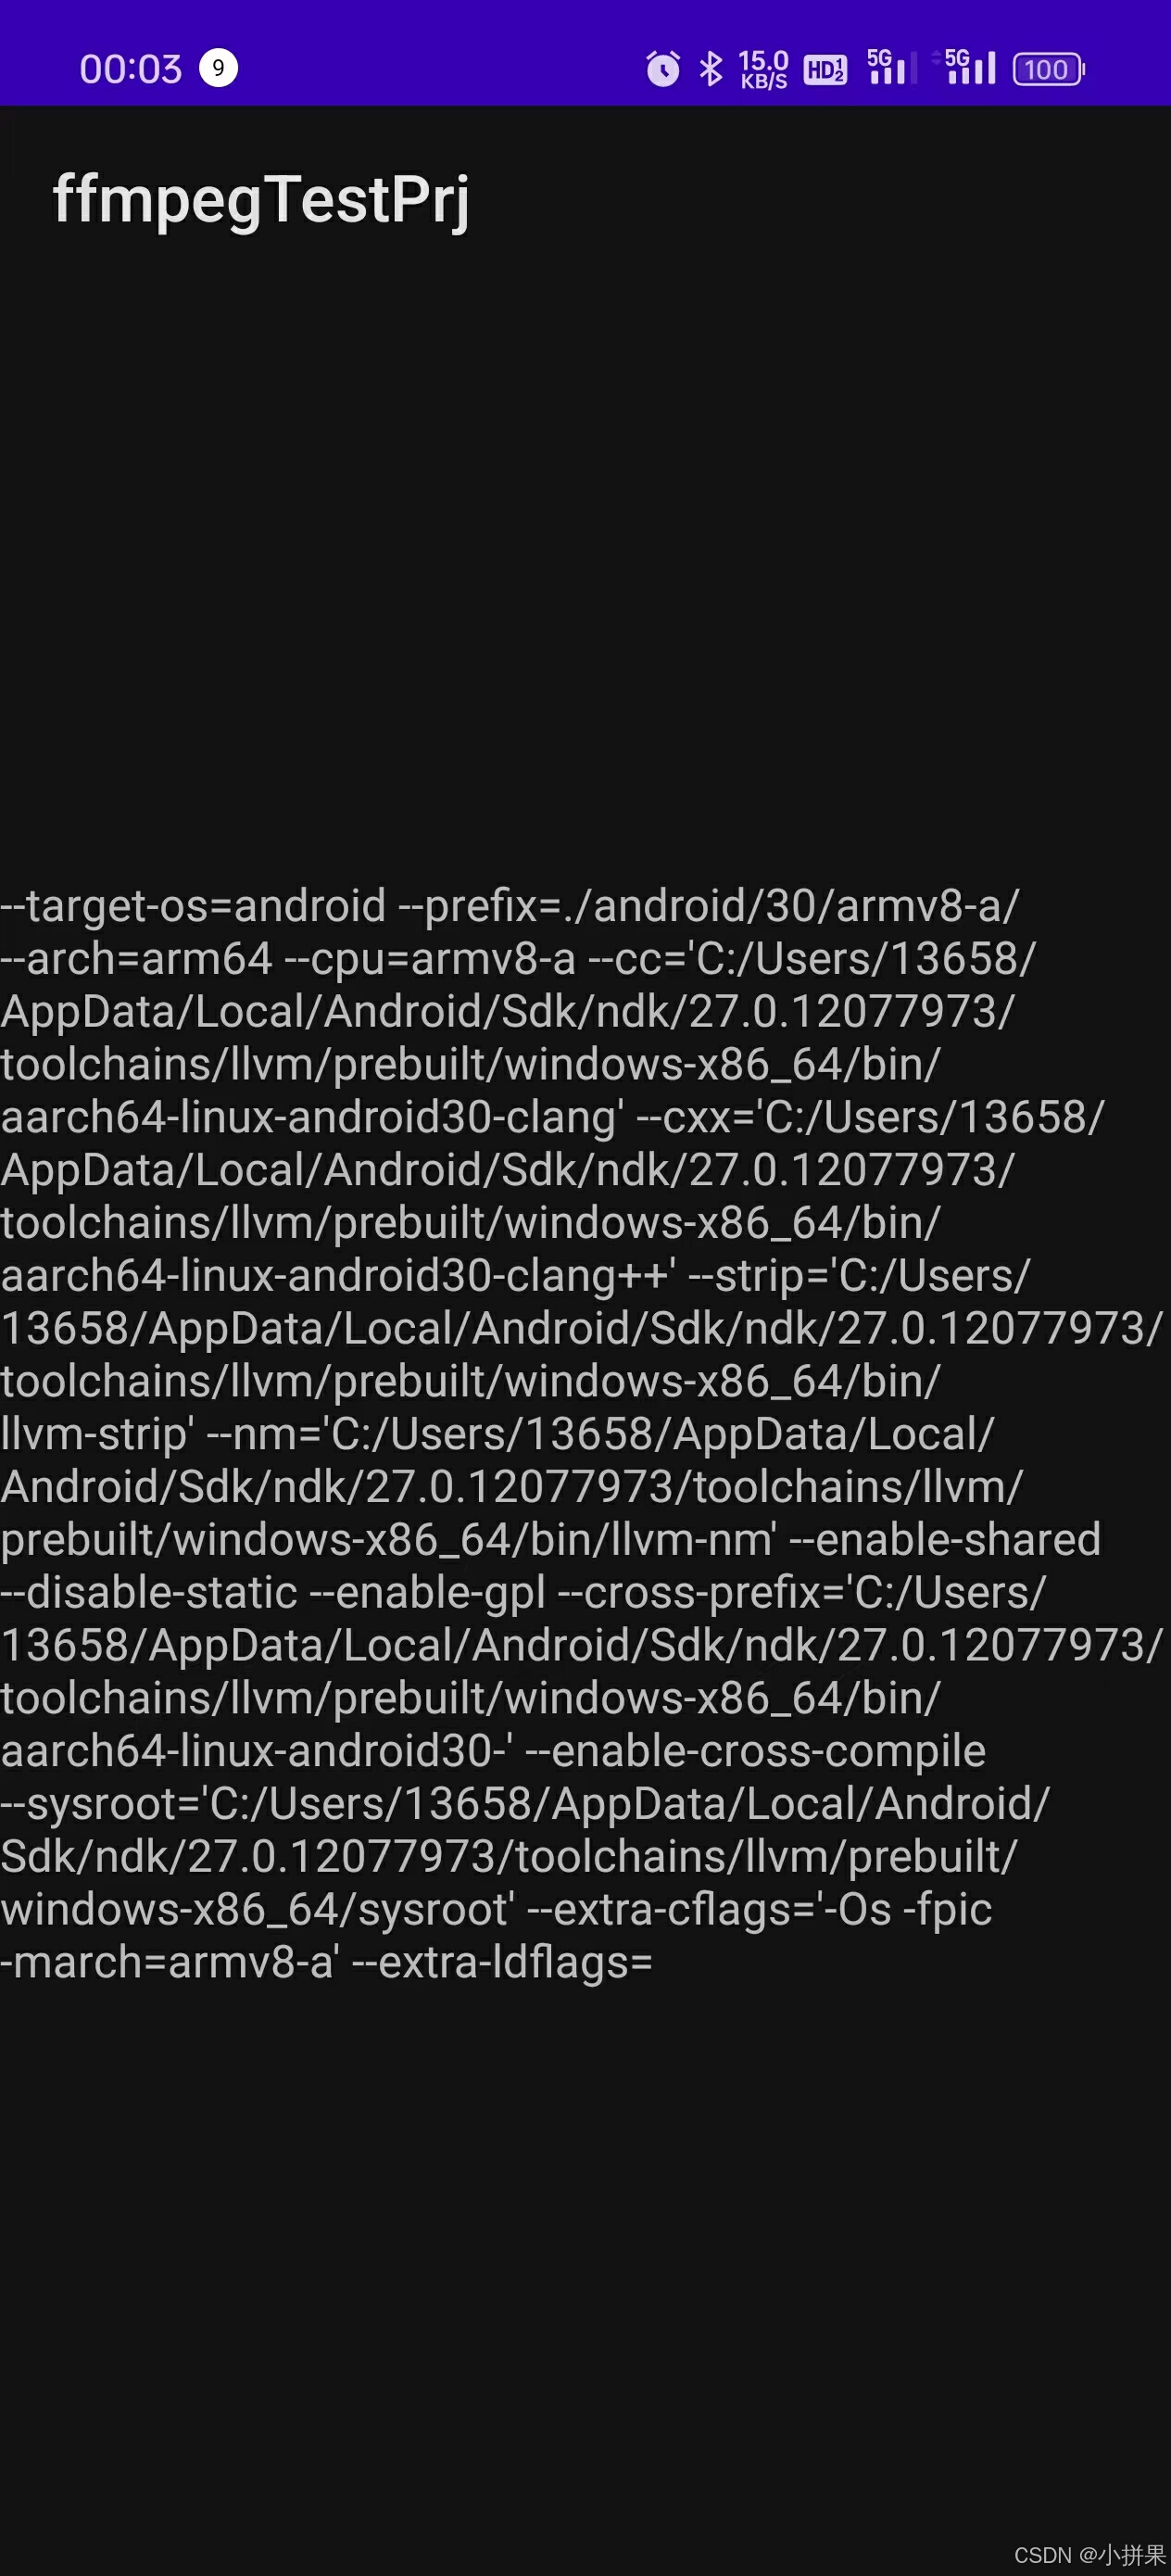
至此,其实就可以运行看一下效果了,急迫的你可以运行试试。不过目前我们还没有调用ffmpeg接口,为了验证我们AS能否正常调用ffmpeg接口,我们就把它调用起来。这里是调用libavcodec/avcodec.h下的avcodec_configuration接口打印配置信息。
Native-lib.cpp新增getAvCodecConfigurationInfo接口,调用avcodec_configuration,将返回的信息作为jni接口返回值。
#include <jni.h>
#include <string>
extern "C"{//必须要添加该声明
#include "libavcodec/avcodec.h"
}extern "C" JNIEXPORT jstring JNICALL
Java_com_example_ffmpegtestprj_MainActivity_stringFromJNI(JNIEnv* env,jobject /* this */) {std::string hello = "Hello from C++";return env->NewStringUTF(hello.c_str());
}extern "C" JNIEXPORT jstring JNICALL
Java_com_example_ffmpegtestprj_MainActivity_getAAvCodecConfigure(JNIEnv* env,jobject /* this */) {std::string hello = avcodec_configuration();return env->NewStringUTF(hello.c_str());
}
7、修改MainActivity.java
MainActivity.java新增声明一个jni接口:
public class MainActivity extends AppCompatActivity {// Used to load the 'ffmpegtestprj' library on application startup.static {System.loadLibrary("ffmpegtestprj");}private ActivityMainBinding binding;@Overrideprotected void onCreate(Bundle savedInstanceState) {super.onCreate(savedInstanceState);binding = ActivityMainBinding.inflate(getLayoutInflater());setContentView(binding.getRoot());// Example of a call to a native methodTextView tv = binding.sampleText;//tv.setText(stringFromJNI());tv.setText(getAAvCodecConfigure());}/*** A native method that is implemented by the 'ffmpegtestprj' native library,* which is packaged with this application.*/public native String stringFromJNI();public native String getAAvCodecConfigure();
}
这里就不再新增控件了,直接将之前的text显示换成显示getAvCodecConfigurationInfo返回的。
8、效果展示